Getting started
Install memberr Upsells, set up Thank You and/or post-purchase offers, and verify each surface.
Get from install to a live offer. memberr Upsells uses two surfaces - set them up separately.
Payment → Post-purchase page (optional) → Thank You (Smart Upsells and/or flows)Storefront copy follows the shop language (German in these screenshots; also EN, FR, ES, IT, NL, PL, TR).
Setup checklist
- Install memberr Upsells from the Shopify App Store and open the app.
- Thank You page (recommended first): open Upsells → Thank You page, enable Smart Upsells and/or create a flow, publish, turn it On. No Checkout settings step required.
- Post-purchase page (optional): open Upsells → Post-purchase page. Shopify only shows one post-purchase app per store - click Open Checkout settings in the banner and select memberr. Create a flow, publish, turn it On.
- Run a test checkout:
- After payment, you should see the post-purchase interstitial first (if step 3 is done) - look for Pay now.
- Then on the Thank You page, look for Add / Smart Upsells cards.
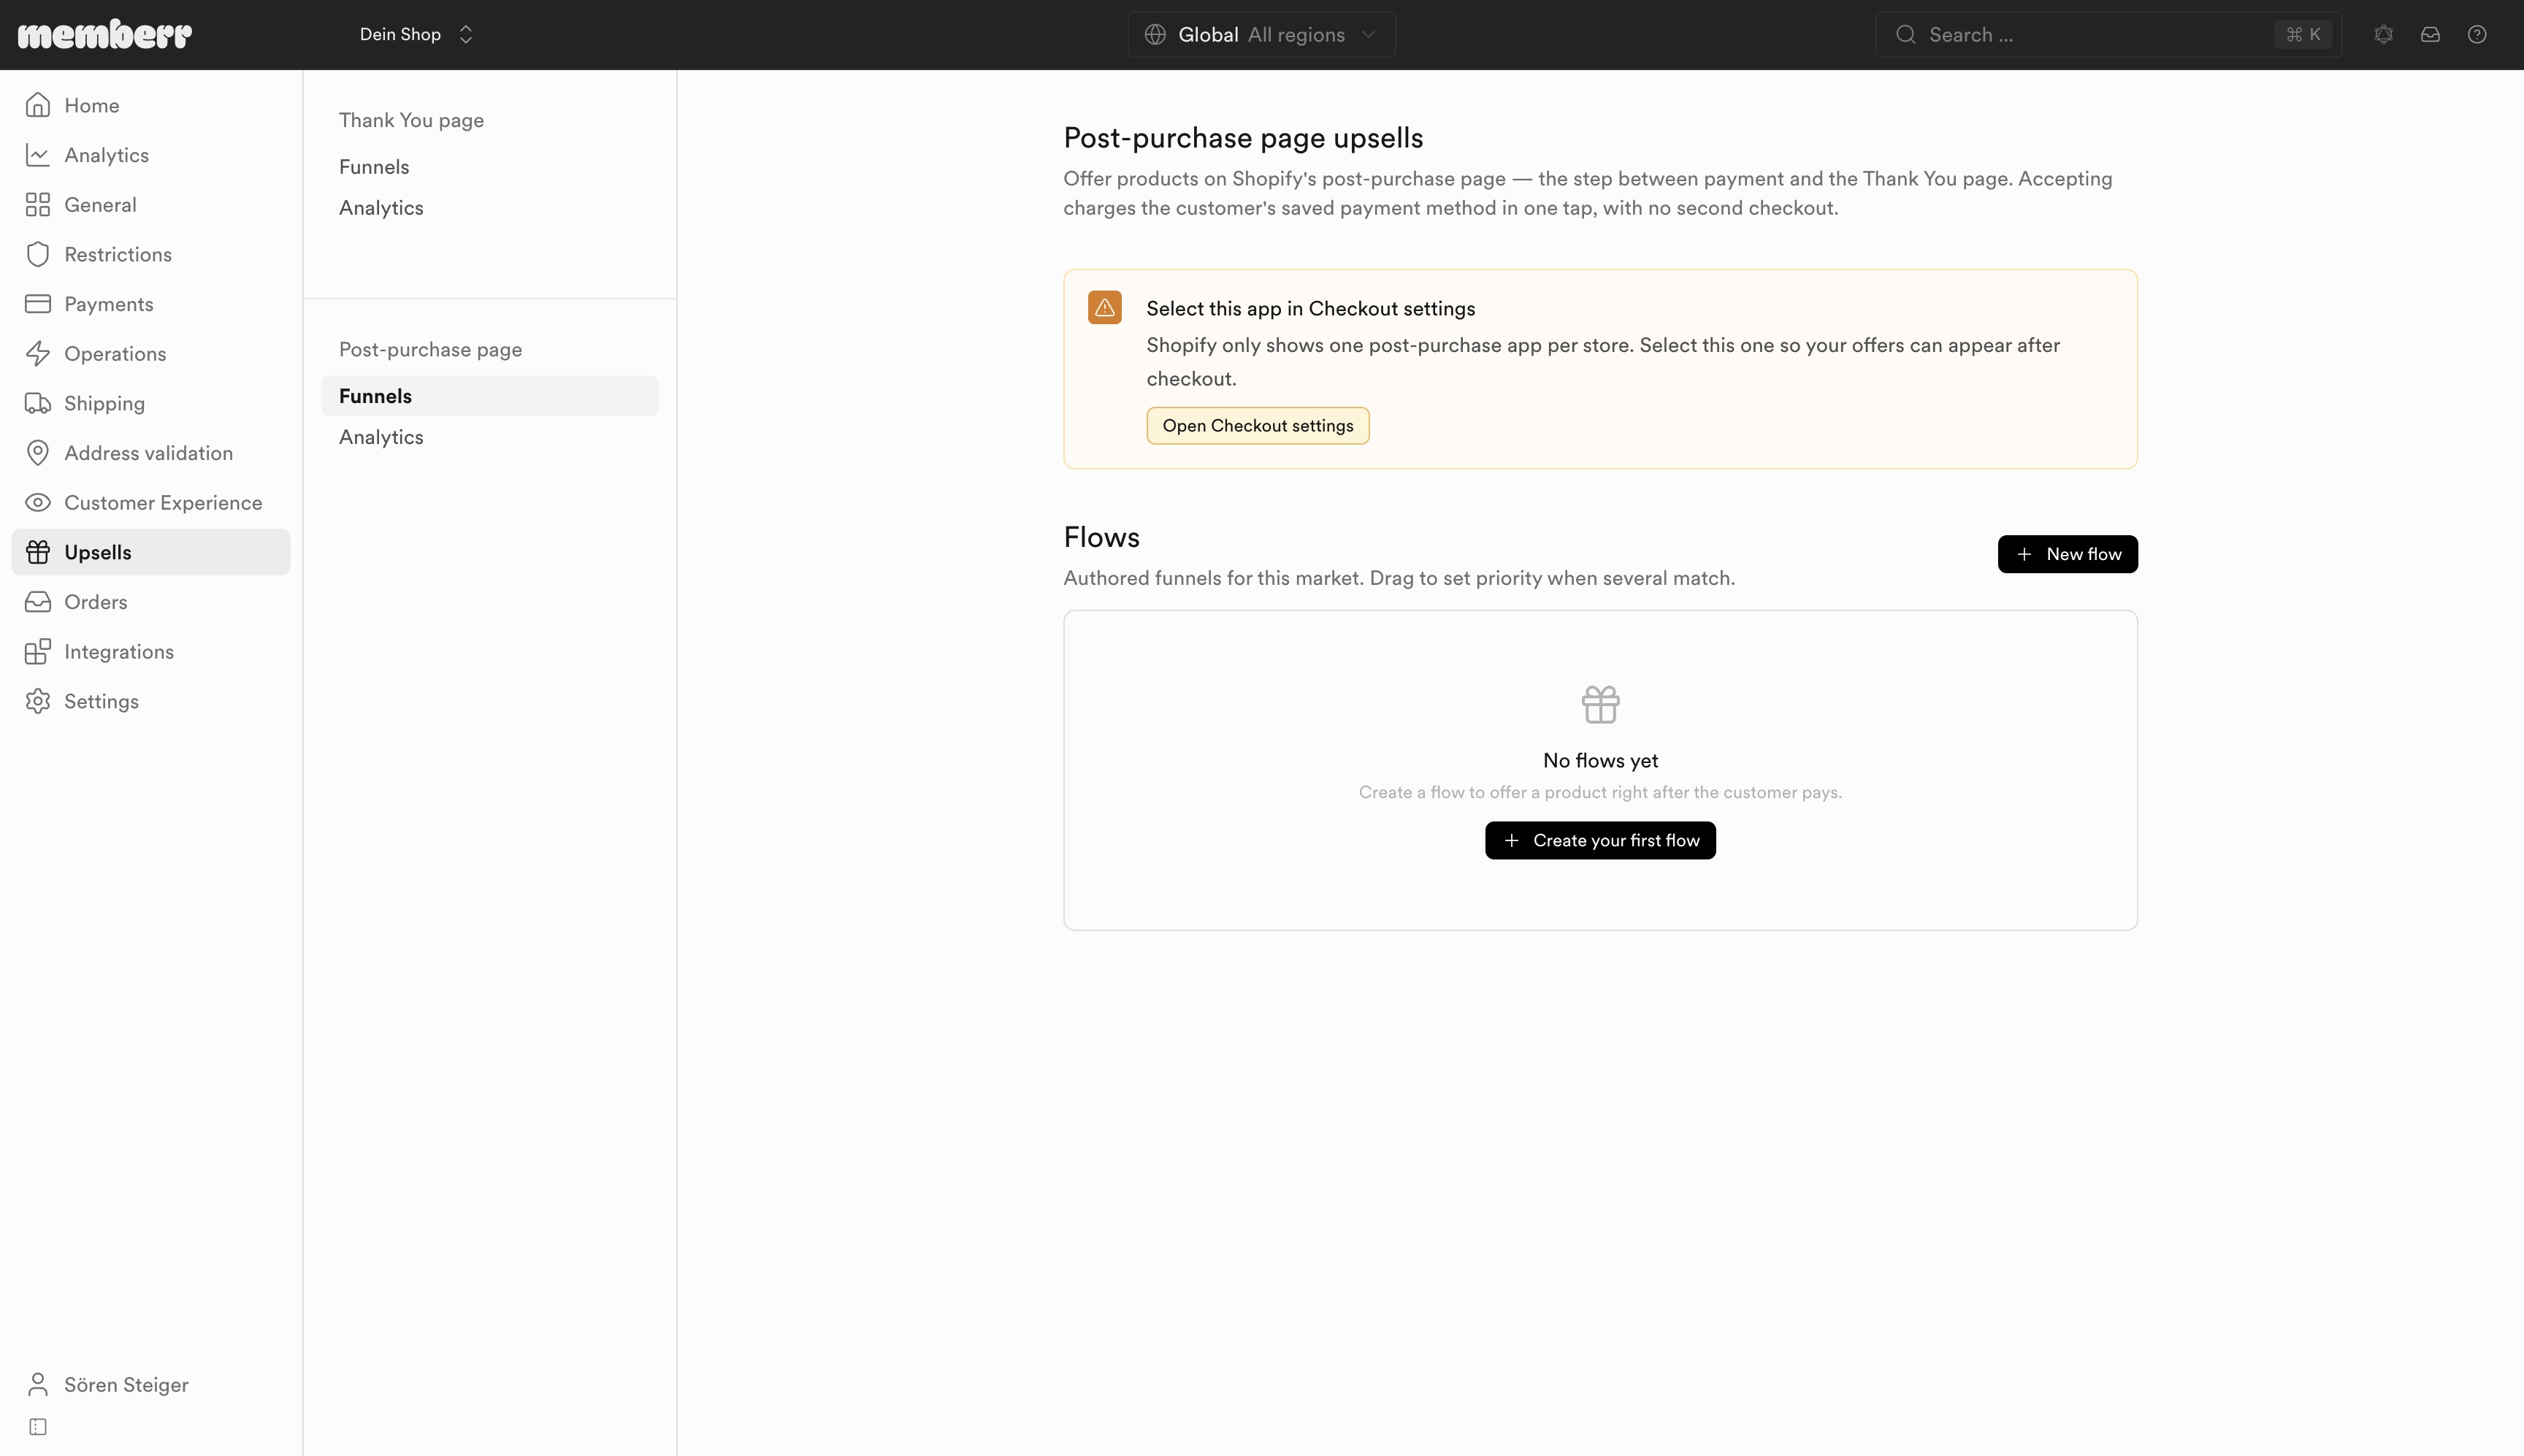
Where each offer appears
| Surface | Admin path | Customer sees | Accept means |
|---|---|---|---|
| Thank You page | Upsells → Thank You page | Confirmation page after checkout | Add to the order |
| Post-purchase page | Upsells → Post-purchase page | Interstitial before Thank You | Immediate charge on saved card |
Flows on one list never run on the other surface. Full comparison: What customers see.
Markets
Authored flows support Customize for this market. When the toggle is off, that section inherits the global configuration.
Smart Upsells runs org-wide on the Thank You page only - it is not per-market yet.